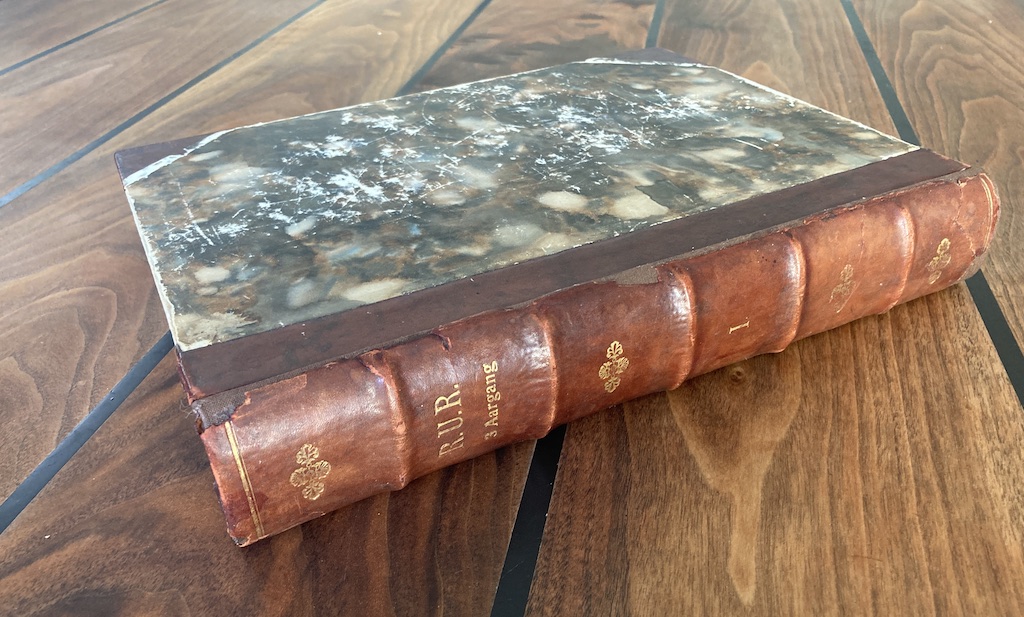
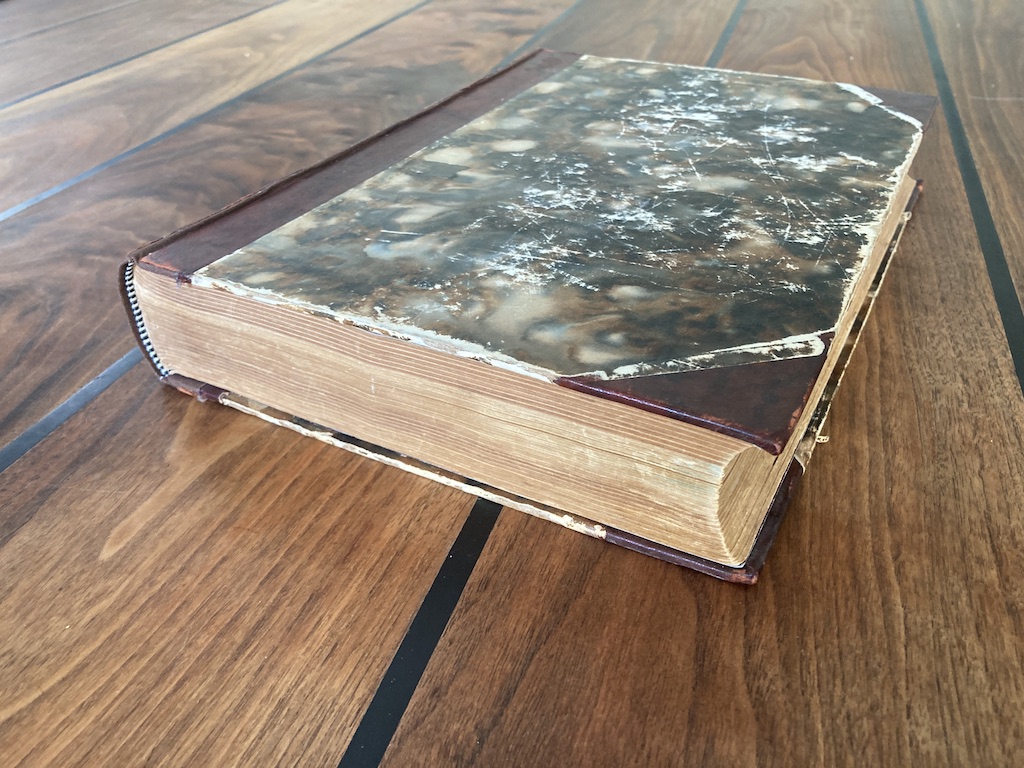
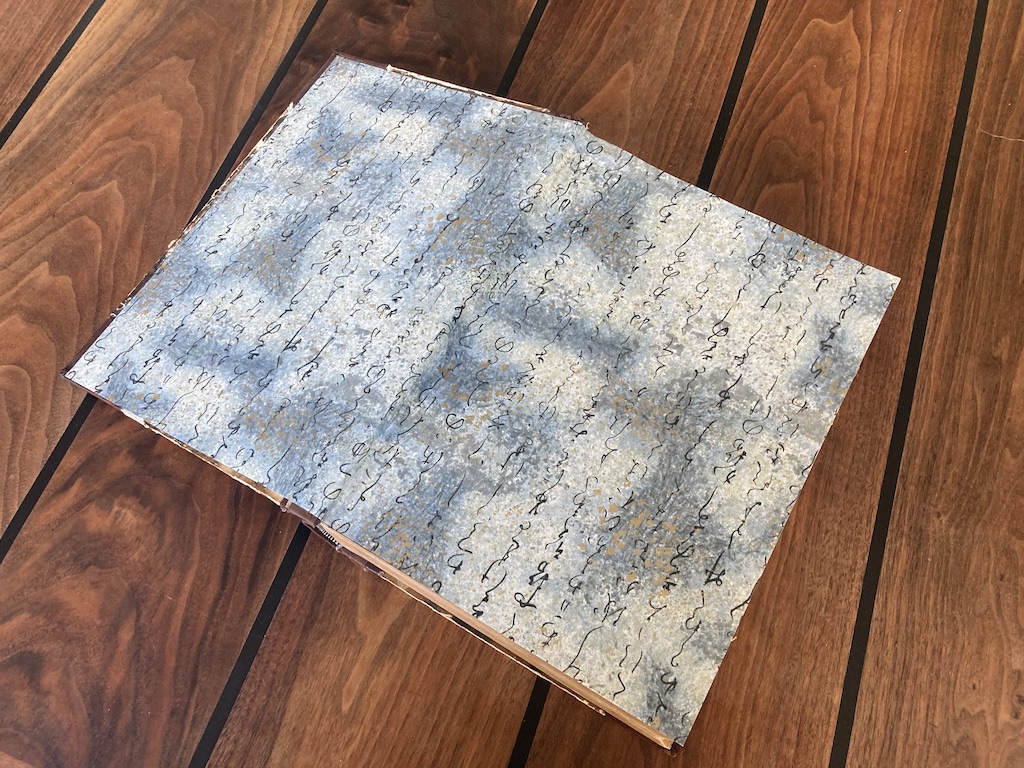
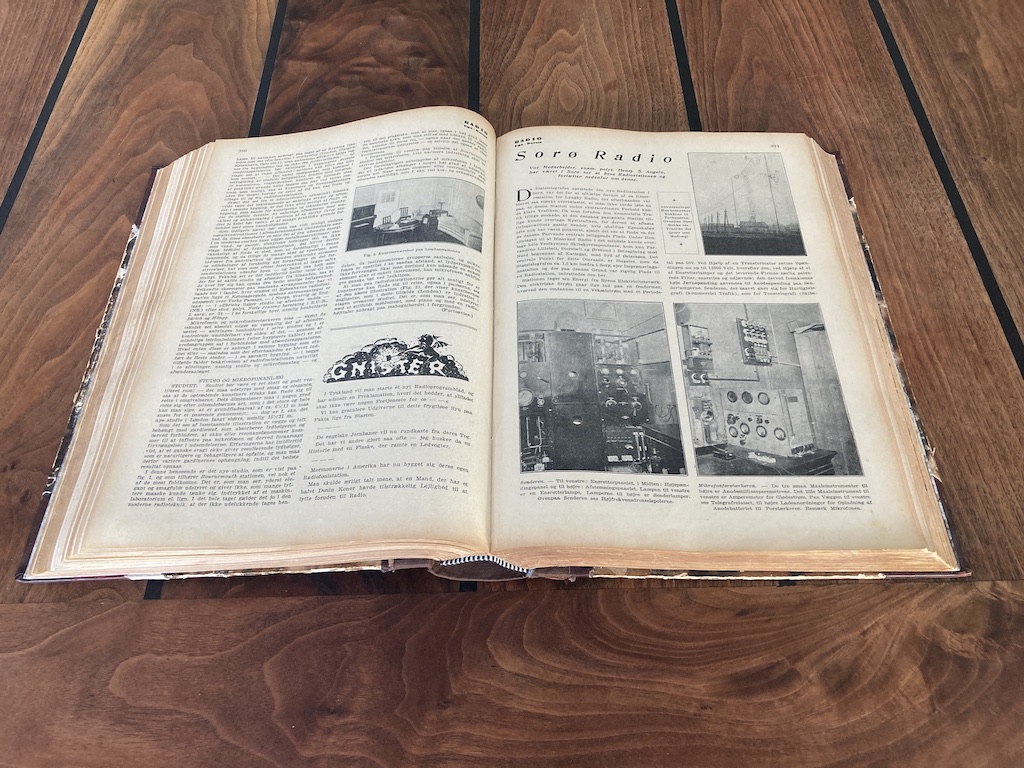
As can be seen, it was never my intention to make an entirely new binding, so it maintains the patina of an old book. I just wanted to stabilise the original one and make the book useable and considerably less fragile.
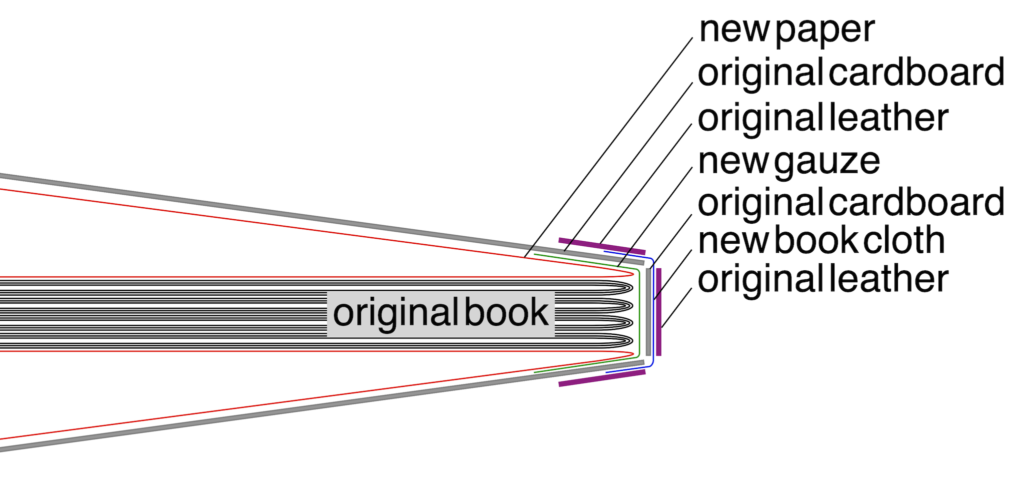
A simplified diagram of the layers in the final book. Not shown in this breakdown are the paper backing and the sewing on the original book, and the location of the glue.
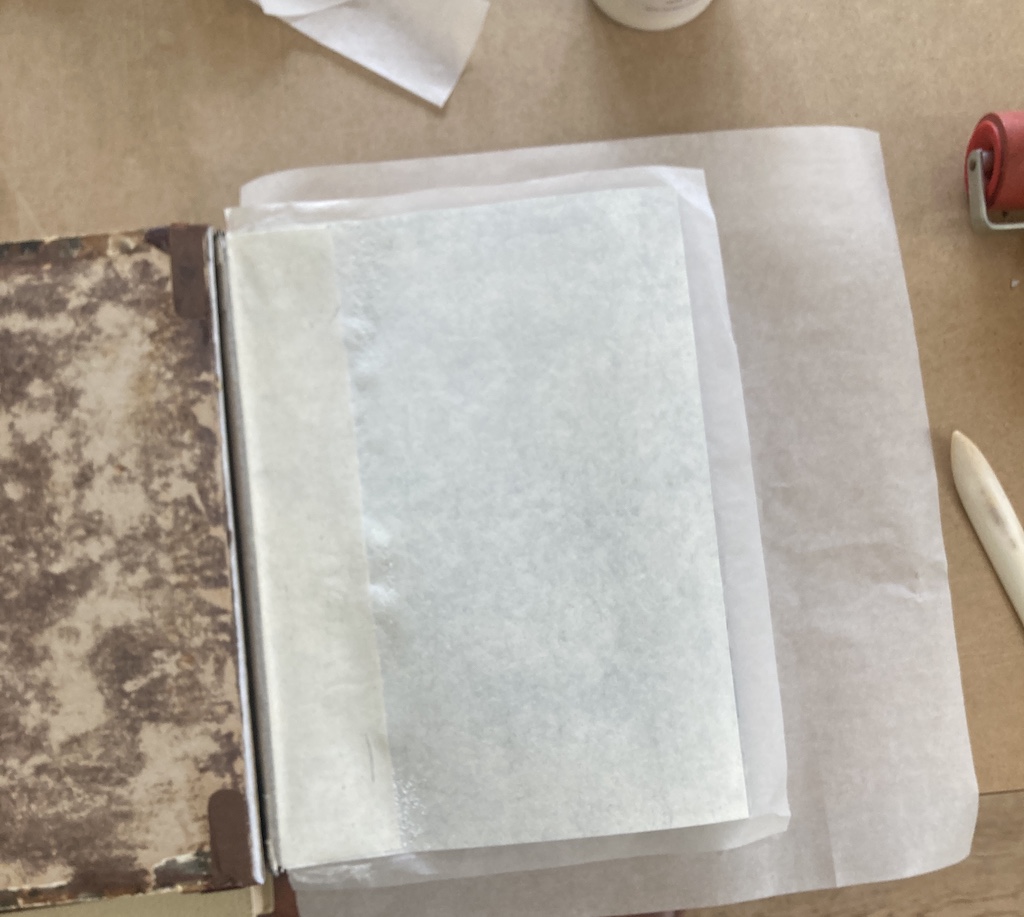
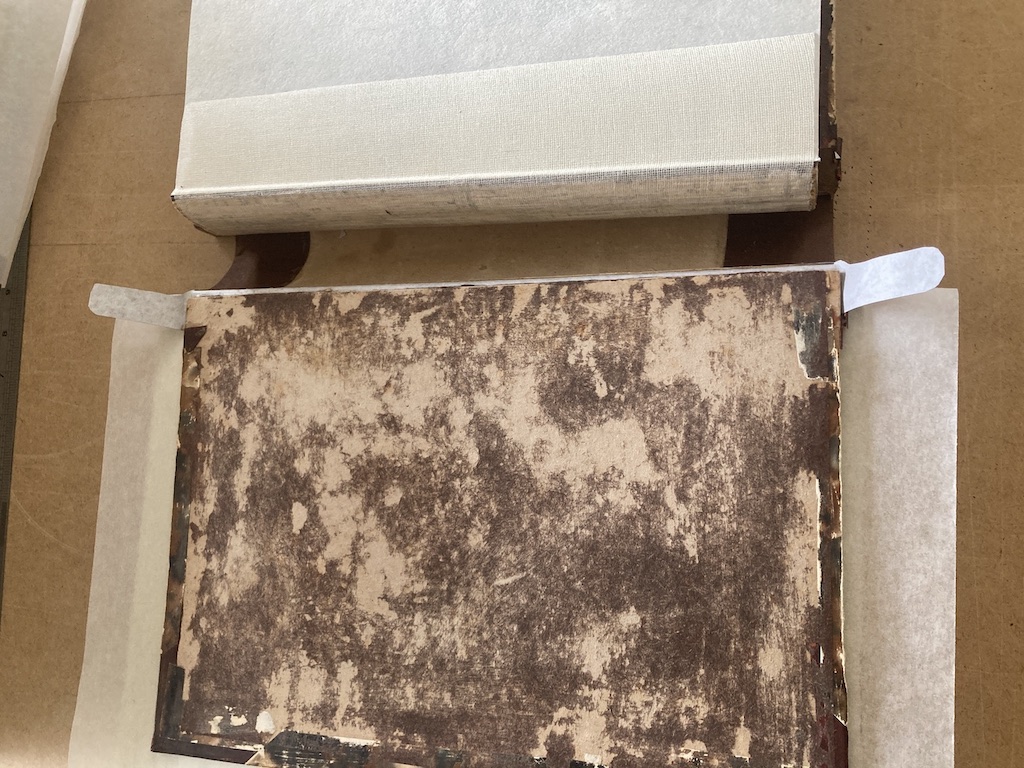
Final assembly begins with gluing the edge of a piece of Japanese paper to the original purple paper. This was done with just a thin line of glue (about 5 mm wide). (In this photo, you see the back of the Japanese paper that will be glued to the inside of the cover.)
Then, the gauze was glued down and then the entire side of the paper that you see there was coated with glue. This is then attached to the inside of the cover. (I realised after it was too late that I take blurry, out-of-focus photos when I’m rushing to get it done before the glue makes the paper wrinkle too much… Sorry.)
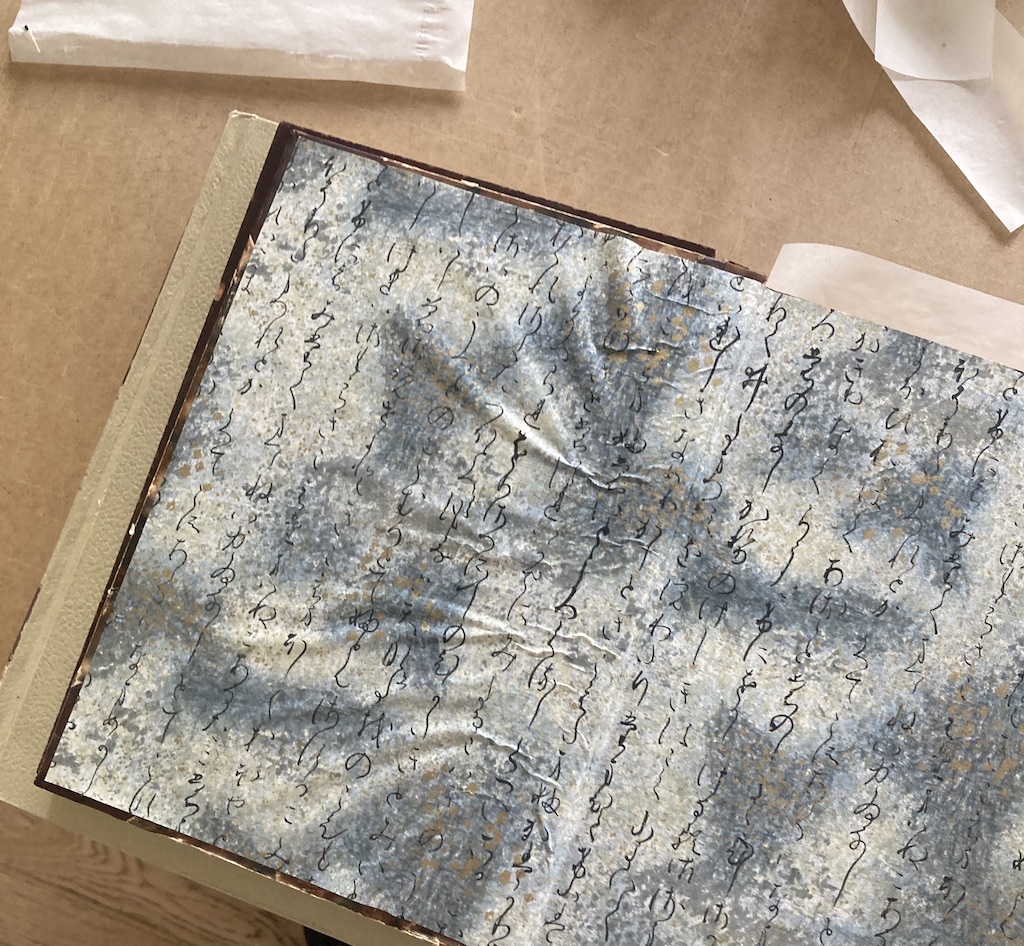
The moisture of the glue caused the Japanese paper to wrinkle, as expected. This was smoothed out using a rubber roller, the bone folder, and my fingers.
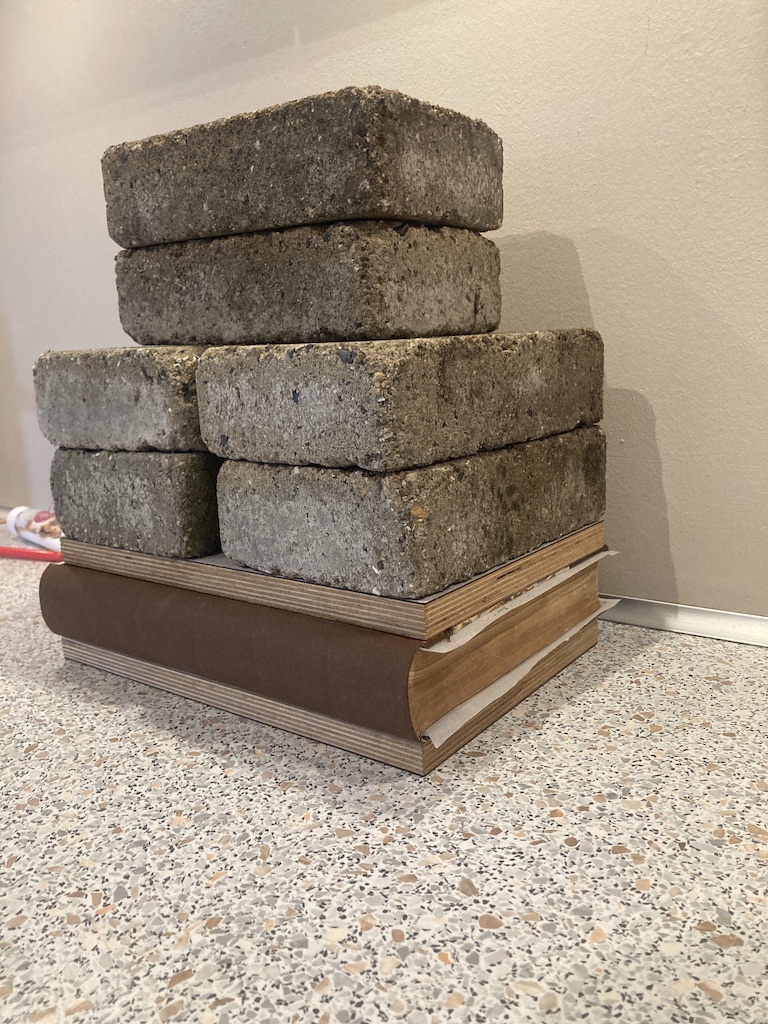
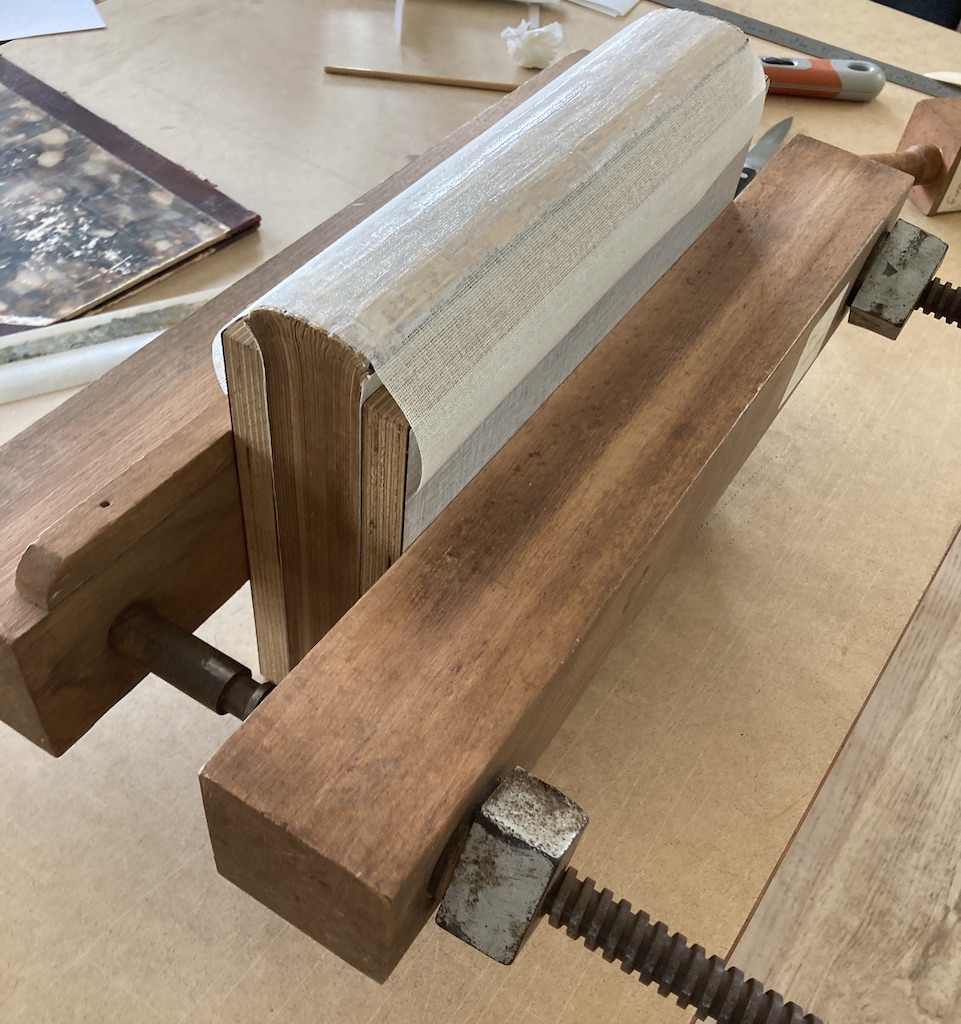
Then the whole thing was clamped overnight to prevent the covers from curling due to the glue. Notice the fabric spine (with the original cardboard spine glued to its inside) that will be covered with the original leather in the next step.
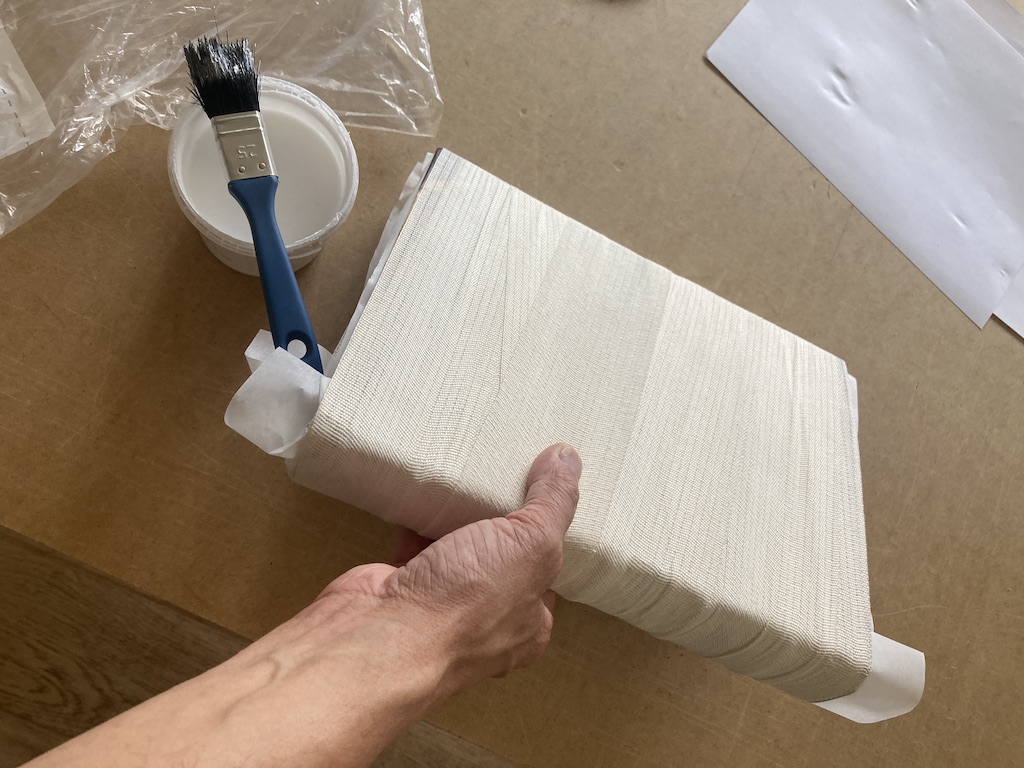
The leather has been glued to the fabric spine and then the whole thing was wrapped in the elastic bandage. Again, the baking paper keeps things that shouldn’t stick from sticking together.
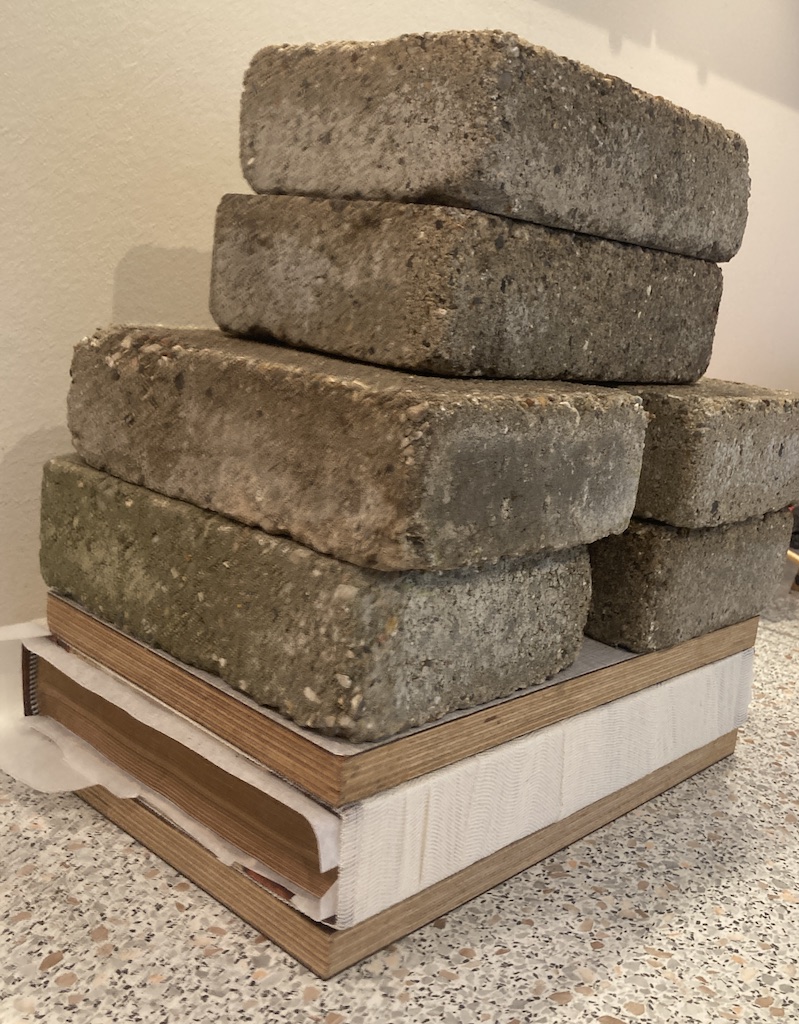
Then back under the weights for another night, bandages and all.
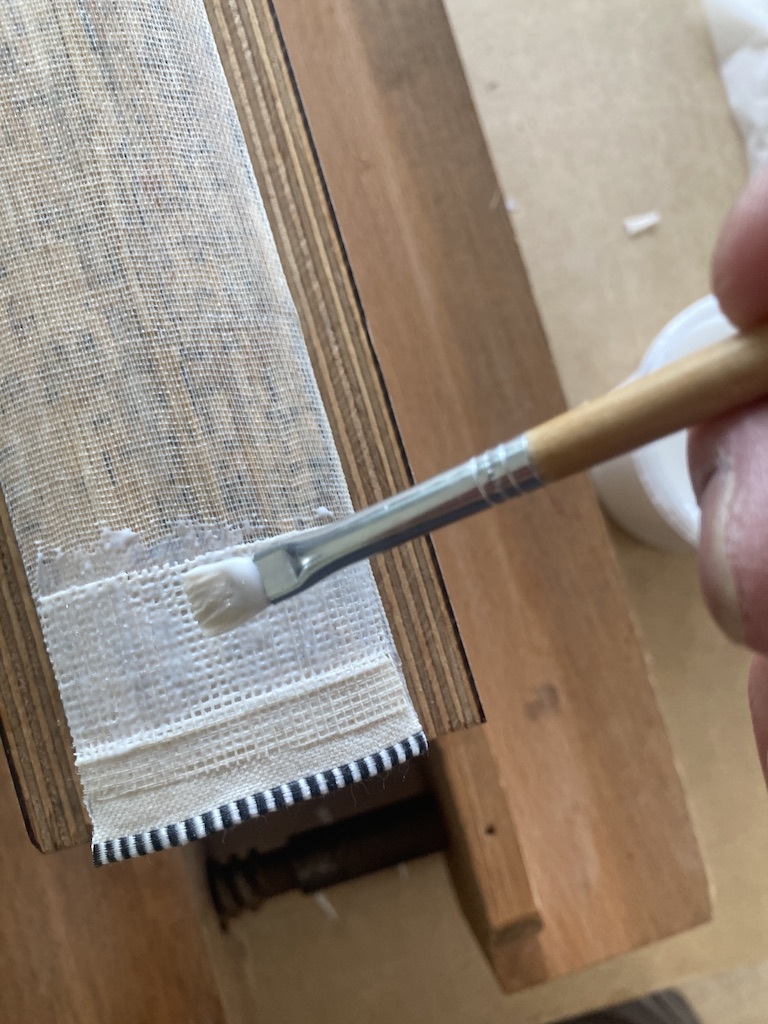
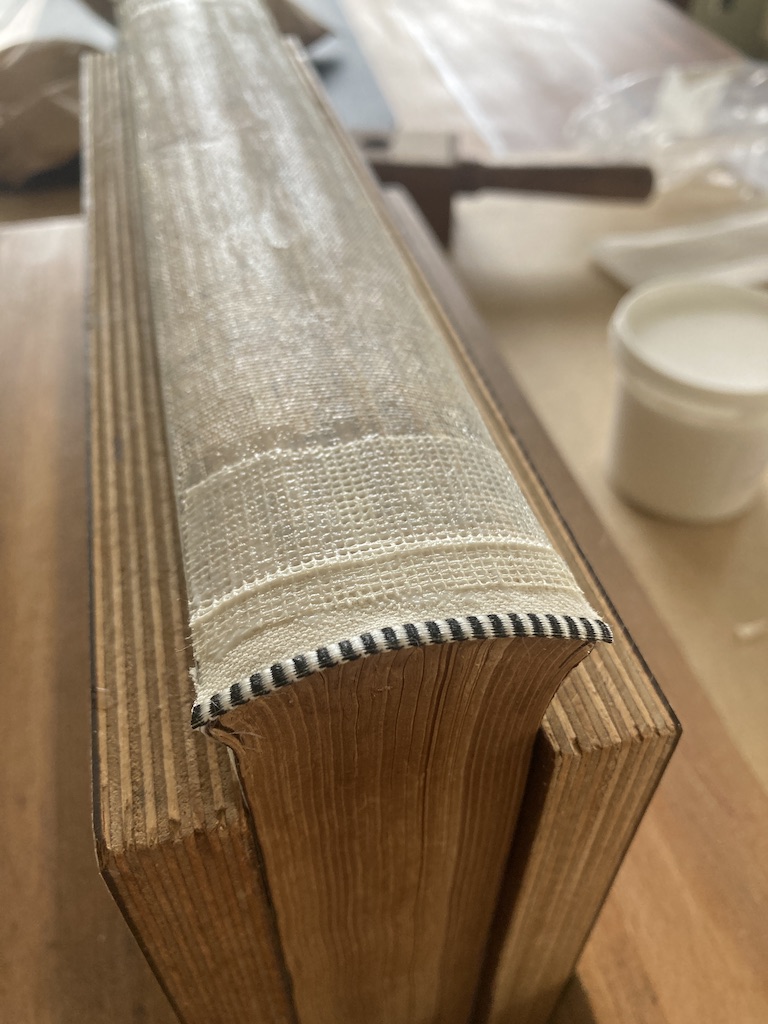
The first step was to prepare the spine reinforcement with gauze and bookbinding glue. The gauze is about 3x the width of the spine. The extras on the sides will form part of the hinges when they’re finally glued to the inside of the covers.
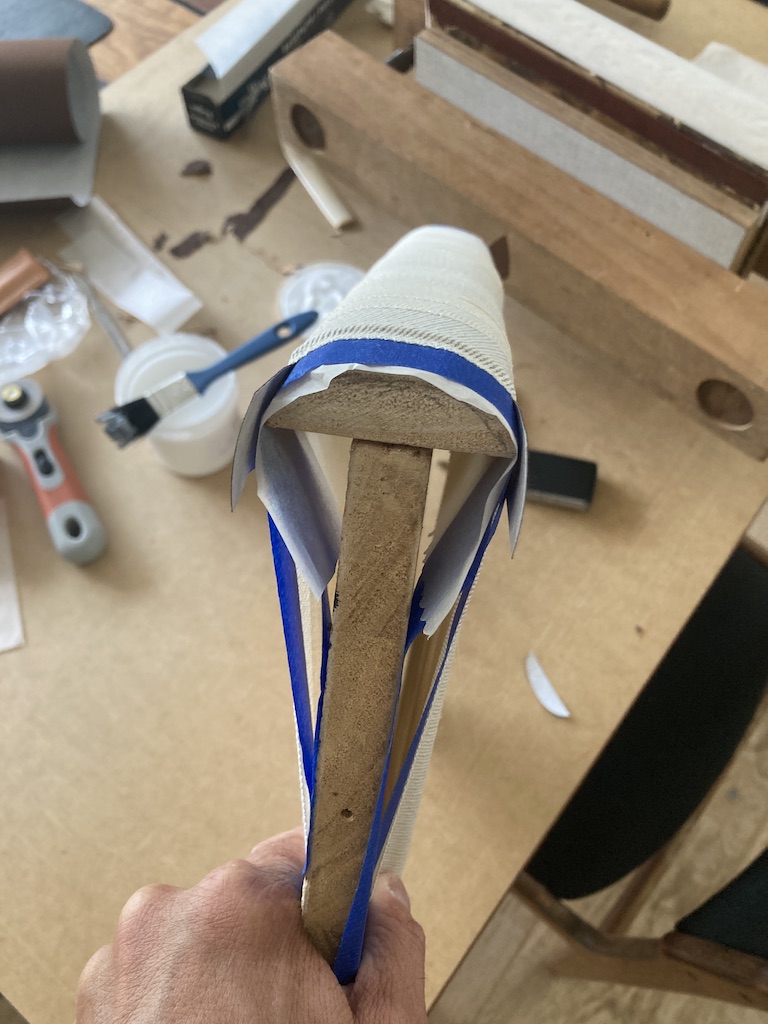
I made a temporary support out of wood for gluing the curved cardboard to the underside of the cloth that will become the new back. Fat-resistant baking paper is placed between the cardboard and the wood to make sure it doesn’t all stick together. The entire thing is wrapped in an elastic bandage.
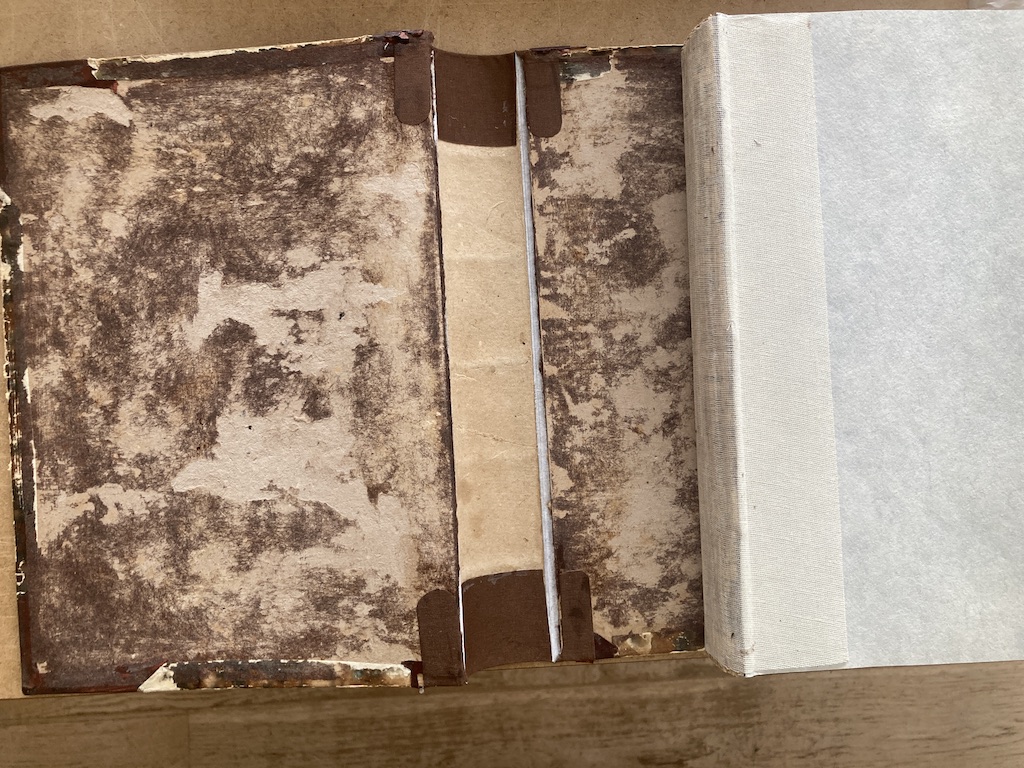
The cloth+cardboard spine has been glued to the covers by gluing the cloth under the leather strips. Notice in the middle that the cloth has been folded over the top and bottom of the cardboard (on the left and right of the photo).
The two tabs that are sticking out will be folded and glued to the insides of the covers under the paper. The gauze reinforcement on the book’s spine is also easily visible at the top of the photos.
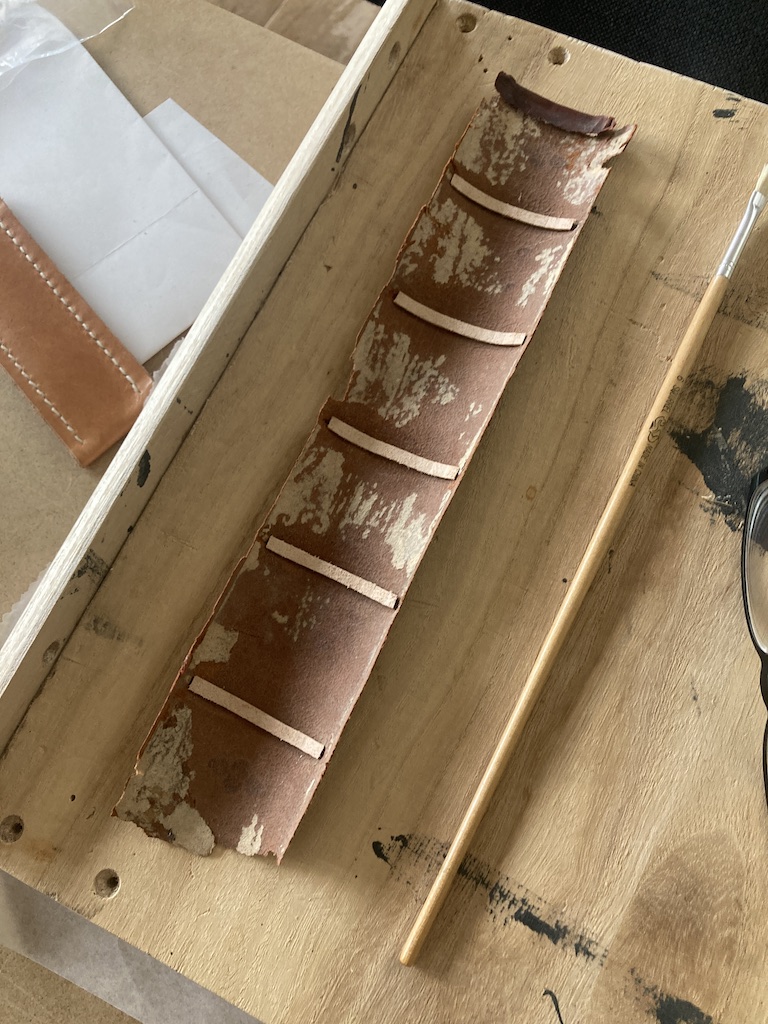
I made 5 bevelled leather strips and glued them to the inside of the leather backing. Because of the twist in the leather, it looks like they’re not parallel, but they are… I promise…
The four tabs were glues to the insides of the front and back covers.
New, machine-sewn headbands were glued onto the spine and reinforced with a little more gauze.
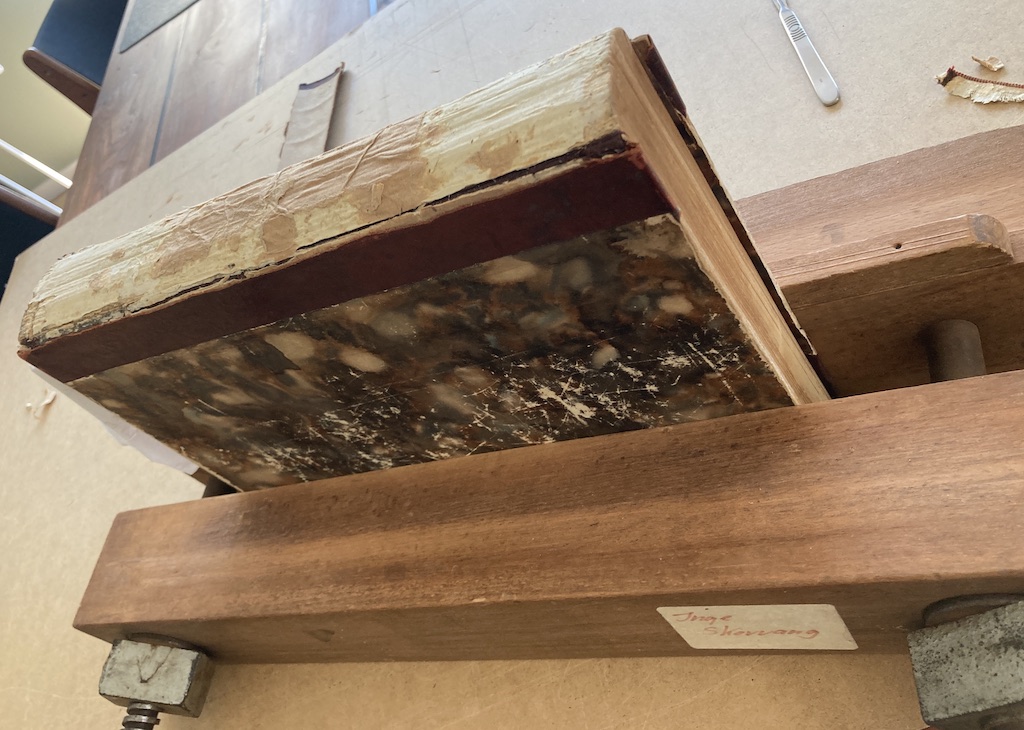
Step 1 of the dismantling was to cut off the back of the cover. I had my doubts about whether I wanted to slice through that nice leather, but it was the only way to ensure that the new binding would be done properly.
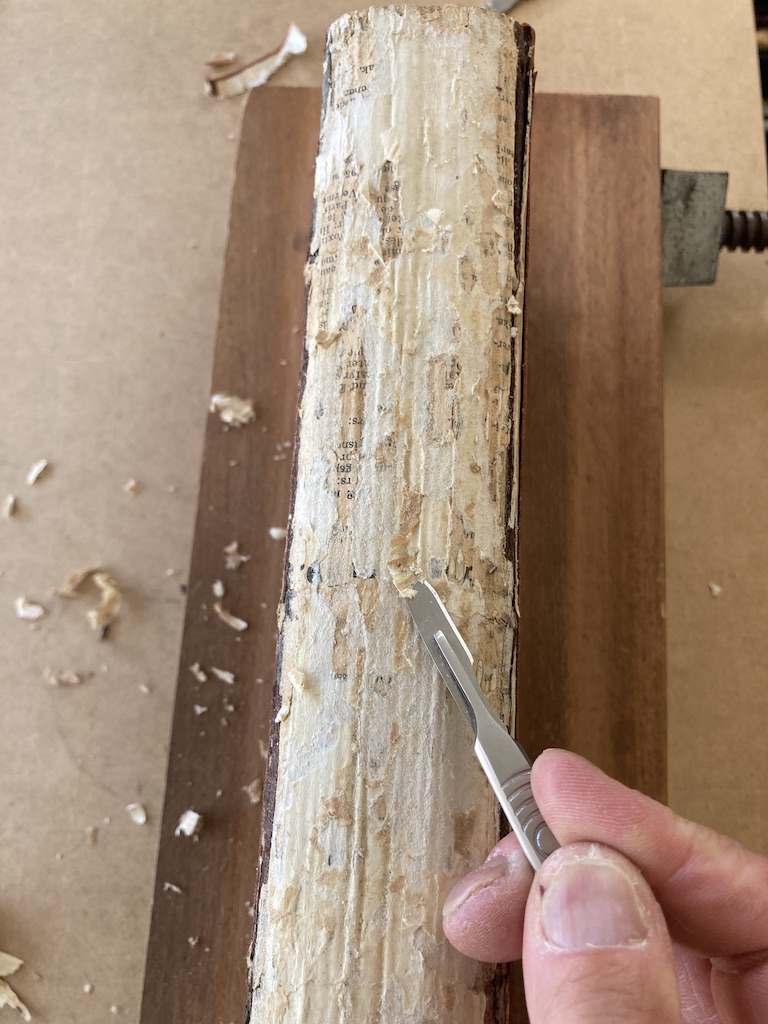
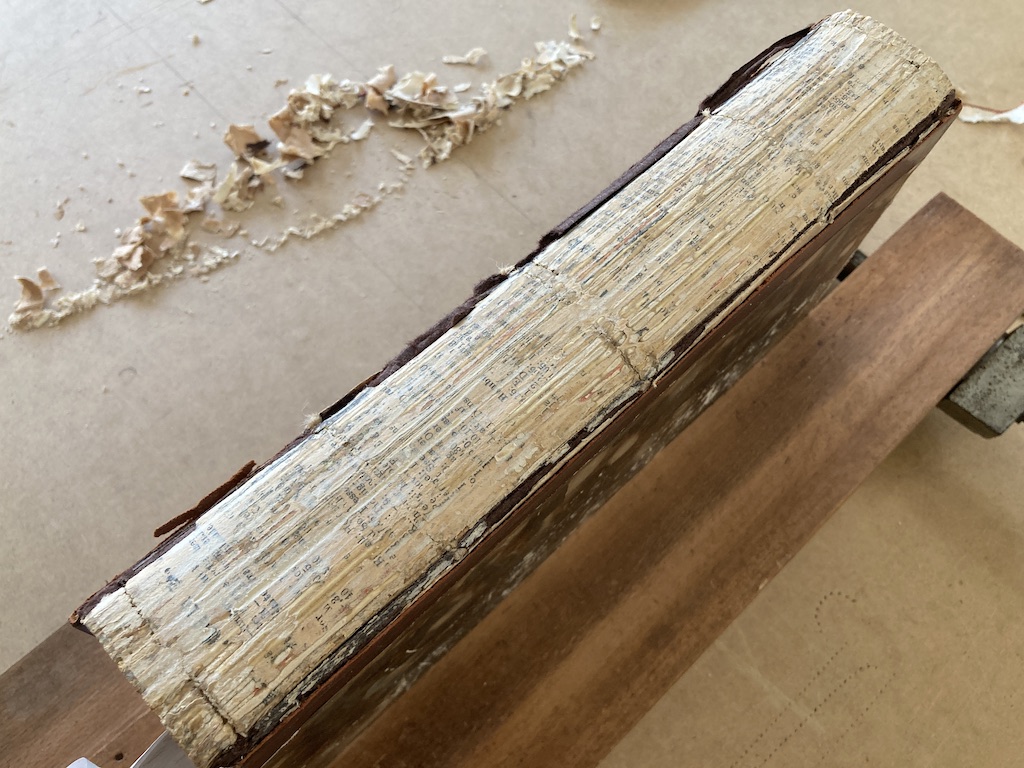
All of the loose paper shreds had to be shaved off the spine. Initially, this was done with a scalpel, and then with 80-grit sandpaper.
Luckily, all of the sewing and the cords are still in place, so I didn’t have to completely disassemble the book and re-sew it.
The card and leather cover of the back came apart fairly easily. Notice that the ribs in the leather were just for decoration, and not cords used in the binding. They’re cardboard strips, 4 mm wide at the base and 2 mm wide at the top. I’ll make new ones to replace these.
All of the bits and pieces so far…
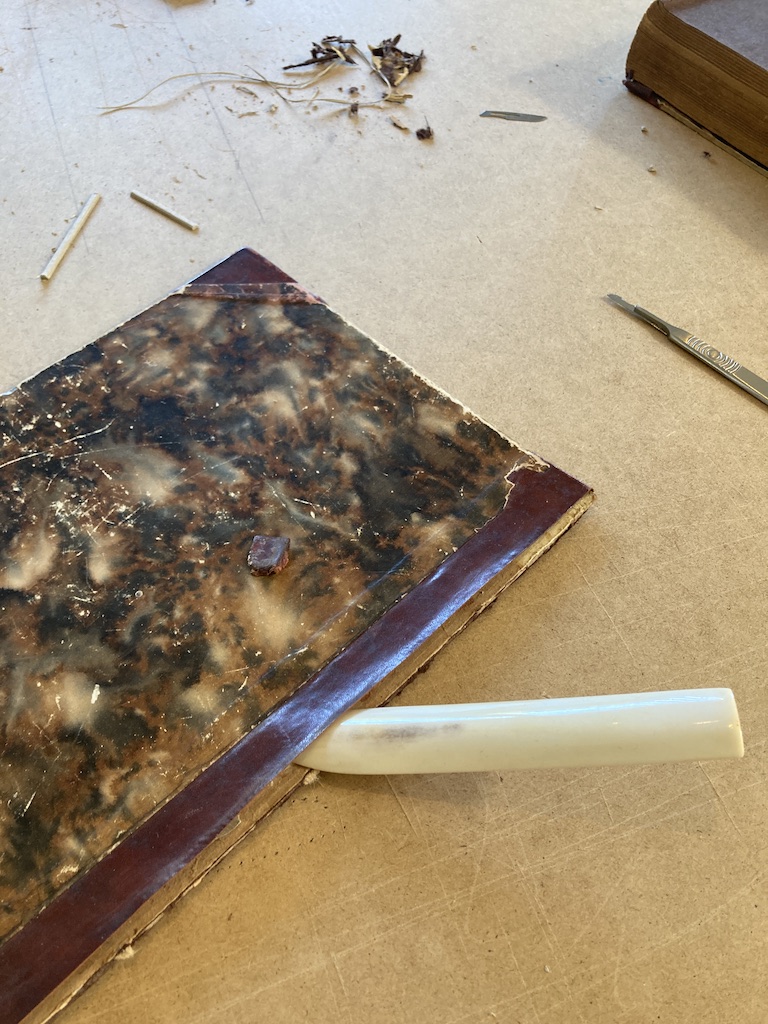
I used a bone folder and the scalpel to separate the leather strip from the card underlay. I only cut down to the line where the marbled paper meets the leather. This way, there was still some old hide glue holding the leather in place. The new binding material will slide in under the leather.
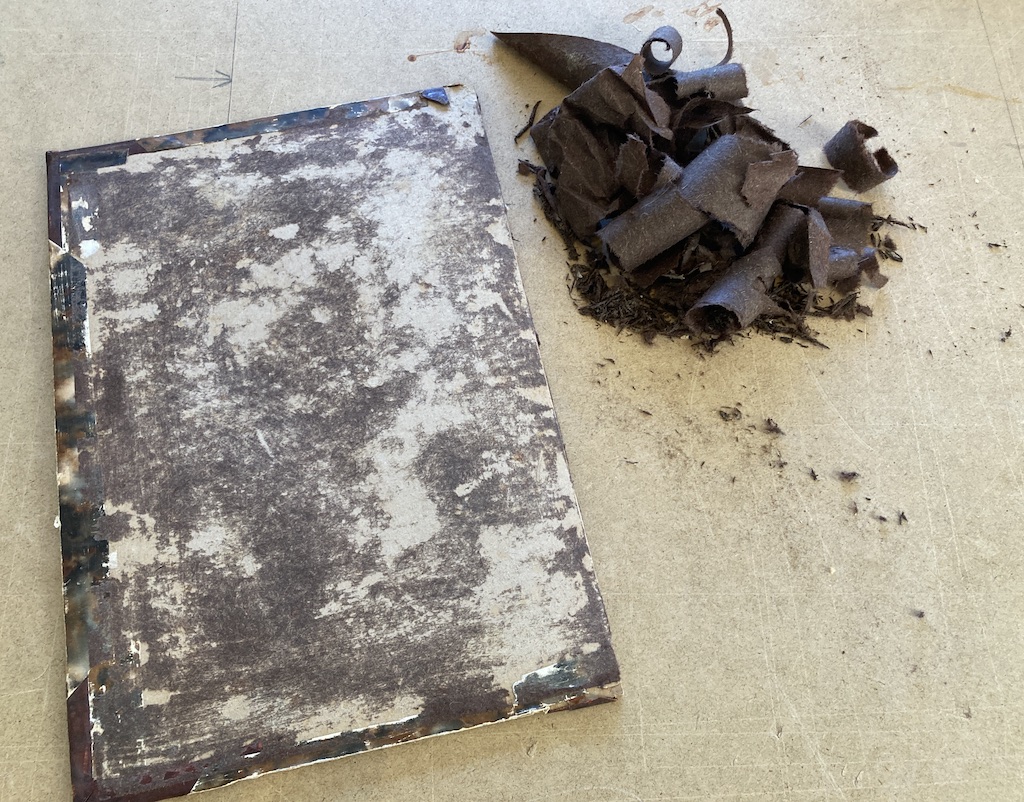
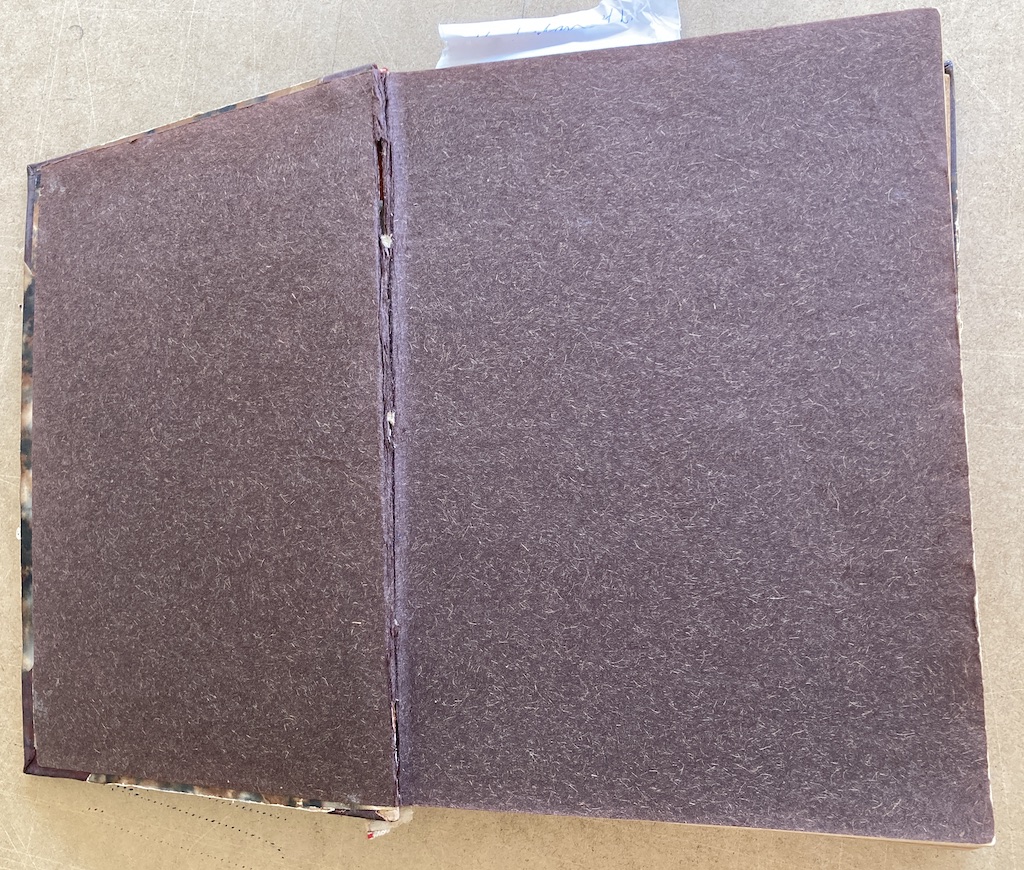
All of the paper was initially scraped, and then sanded off the inside of both covers. A little spray of water helped here, soaking it just enough to be able to rub off a large amount with my fingers (which turned purple as a result…)
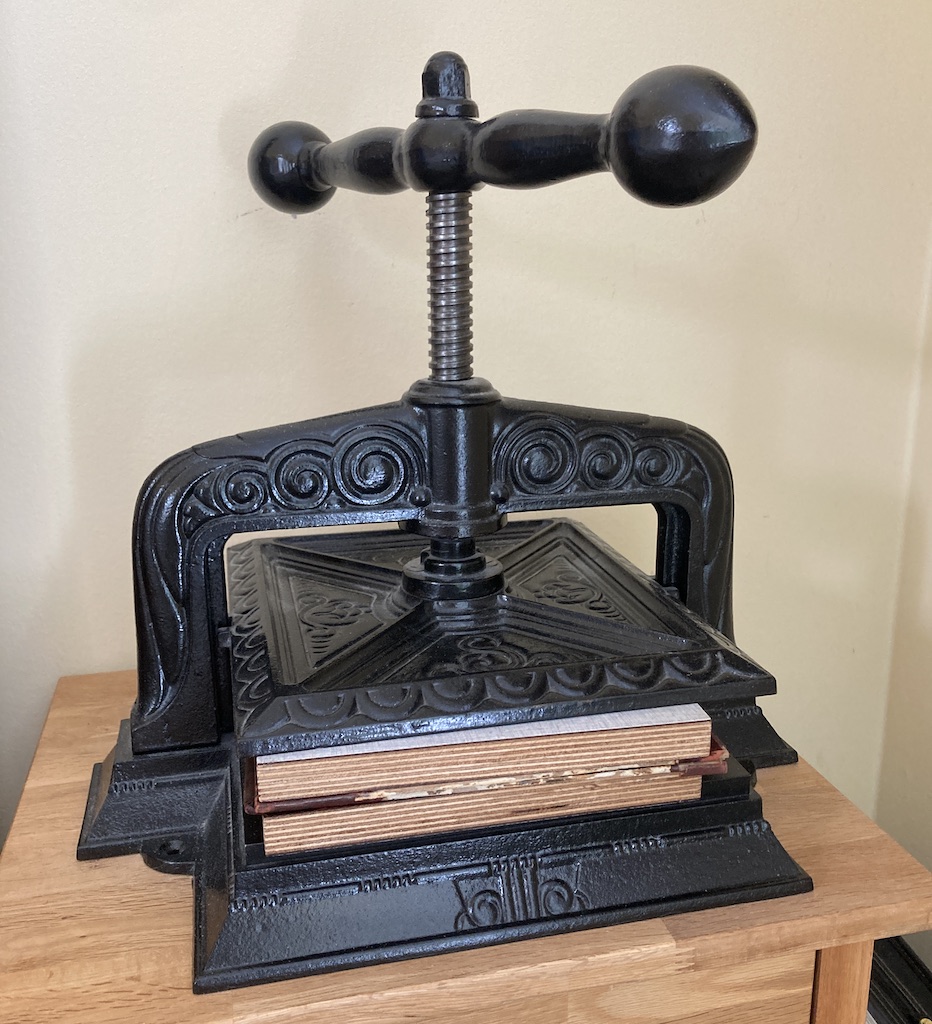
Both covers were a little warped, so, while they were still a little damp, I used an iron to heat them up and straighten them out, and then I left them in a press between two pieces of plywood for a couple of days.
I have a bunch of hobbies, and I am particularly pleased when they intersect or overlap.
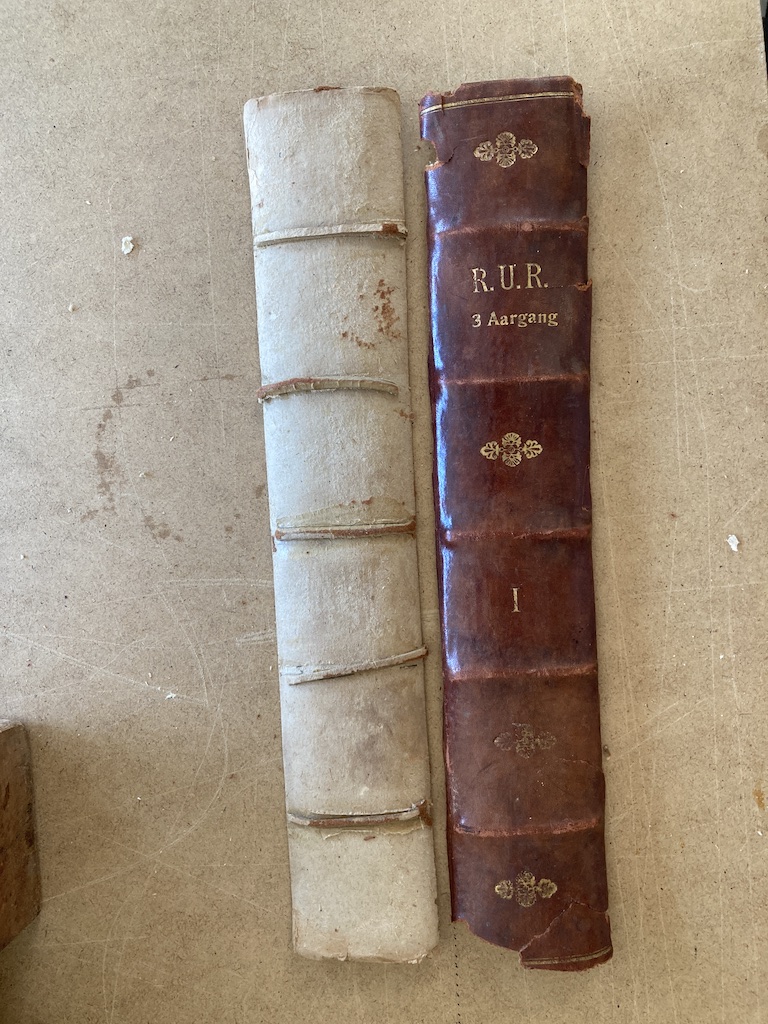
This weekend’s project started with a visit to a good friend who has a large collection of magazines and books about radio and audio dating back over 100 years. One of the books on his shelf was a bound set of Radio Uge-Revue magazine from 1926, however, after 100 years and much use, the binding has disintegrated. So, I took the book home with an agreement that I would try to repair the book and, in return, he would not criticise my amateurish attempts…
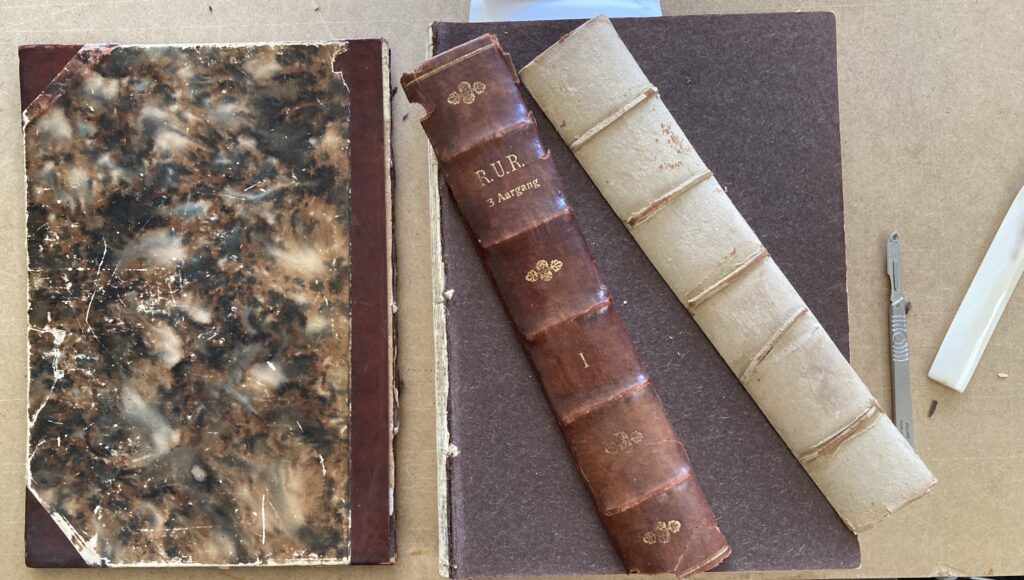
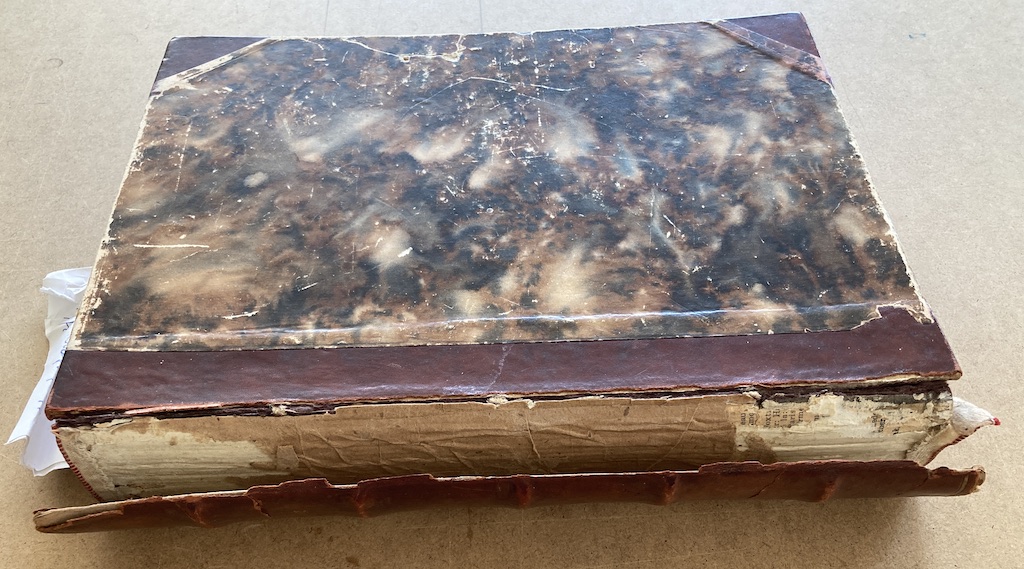
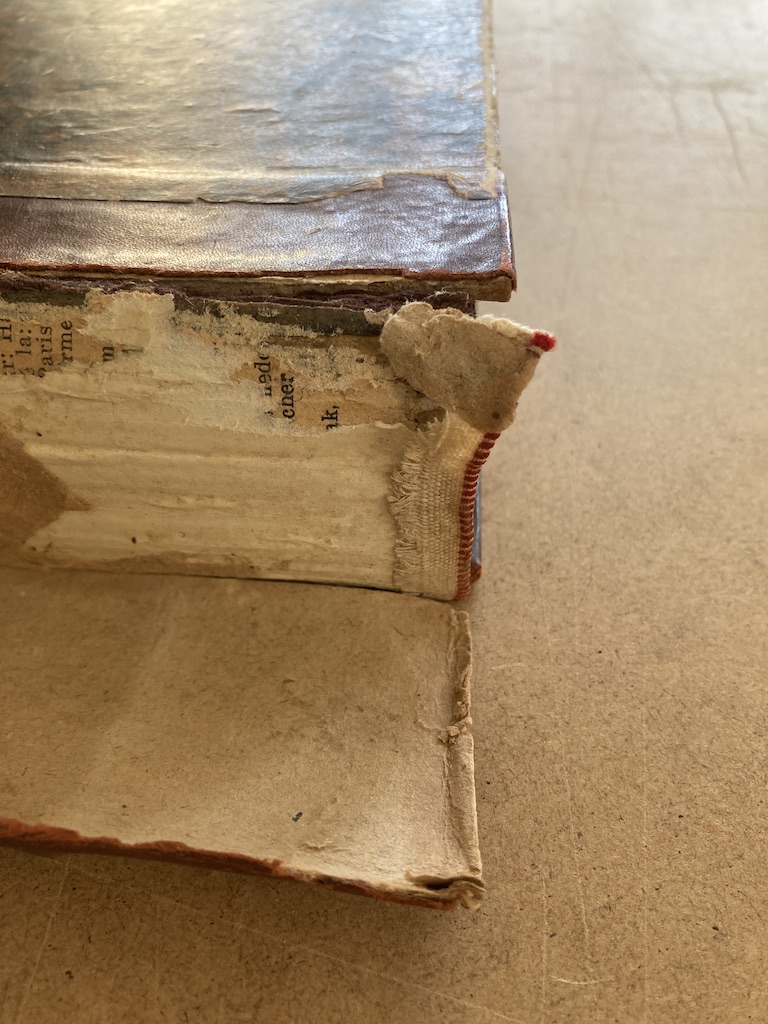
This was the starting point. The leather spine of the book has become completely torn away from the leather strip on one cover. Structurally, the rest of the binding turned out to be in decent shape, so I spent a lot of time debating what to do.
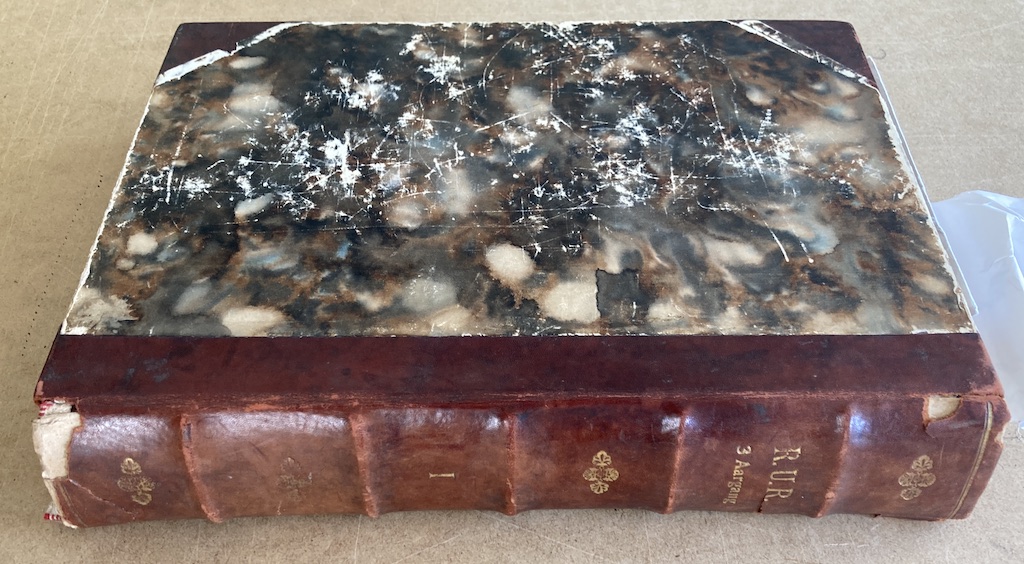
The spine was nicely attached to the other cover, and the internal threads were in decent shape.
Both headbands were in pretty bad shape, as was the paper covering on the spine itself.
So, step one was to start dismantling the binding – but only as much as necessary…
When I was growing up in Newfoundland, we had an old gramophone in our basement that I was told, came from my great-grandfather’s house. That was about 50 years ago.
On a recent trip home from Denmark, I dismantled it and brought it back with me, with a plan to restore it. The first step was to find out what, exactly, it is, since I will have to buy some replacements for some broken or missing pieces.
It appears to be a “Junior” model from a company called the Canadian Symphonola Co., Limited, which had a factory and headquarters at 31-37 Brock Avenue, Toronto.
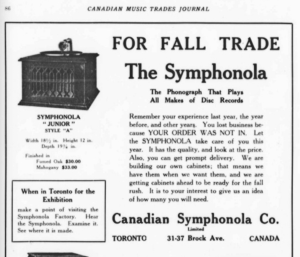
This advertisement for the Junior is from the Canadian Music Trades Journal in August, 1917. Mine is the Fumed Oak variant.
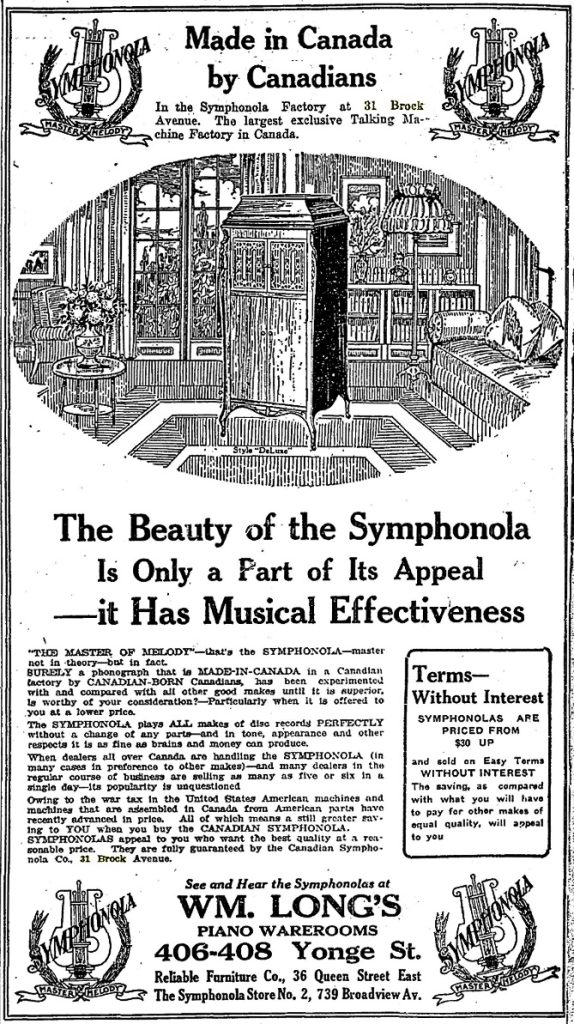
One interesting thing that I’ve come across when digging into this was this advertisement from the Toronto Daily Star in December, 1917.
The >100-year old text is weirdly familiar in these times of rather unstable international relationships. History has a tendency to rhyme.
For more information about the Symphonola company, this page at capsnews.org is a great resource. (it’s also where I found those two screenshots above…)
In passive crossovers, many are phase incoherent, meaning that the phase shift of one frequency will be different than another frequency. Do you agree? Am curious how this is dealt with in the active crossover’s of B&O products?
At first, I debated just sending a quick email back with a short answer saying something pithy. But while I was thinking about what to write, I realised that:
This is actually a really good question / topic
I haven’t posted anything about crossovers in a long time
I’ve learned a lot about crossovers since the last time I did post something
I still have a LOT more to learn about crossovers.
As a result, this will be the first in what I expect to be a long series of postings about loudspeaker crossovers, starting with basic questions like
Why do we use them?
What do we think they do?
What do they really do? and
How are the ones we implement these days different from the ones you read about in old textbooks?
As usual, I’ll probably get distracted and wind up going down more than one rabbit hole along the way… But that’s one of the reasons why I’m doing this – to find out where I wind up, and hopefully to meet some new rabbits along the way.
Okay… this posting has nothing to do with technology, or B&O loudspeakers…
One part of my job these days is to dig into the history of B&O, looking into some of the technologies that are “under the hood” of our older products, as well as the people and processes behind them.
Once in a while, I stumble across something that doesn’t fit into any category other than something that I find interesting. This is one example.
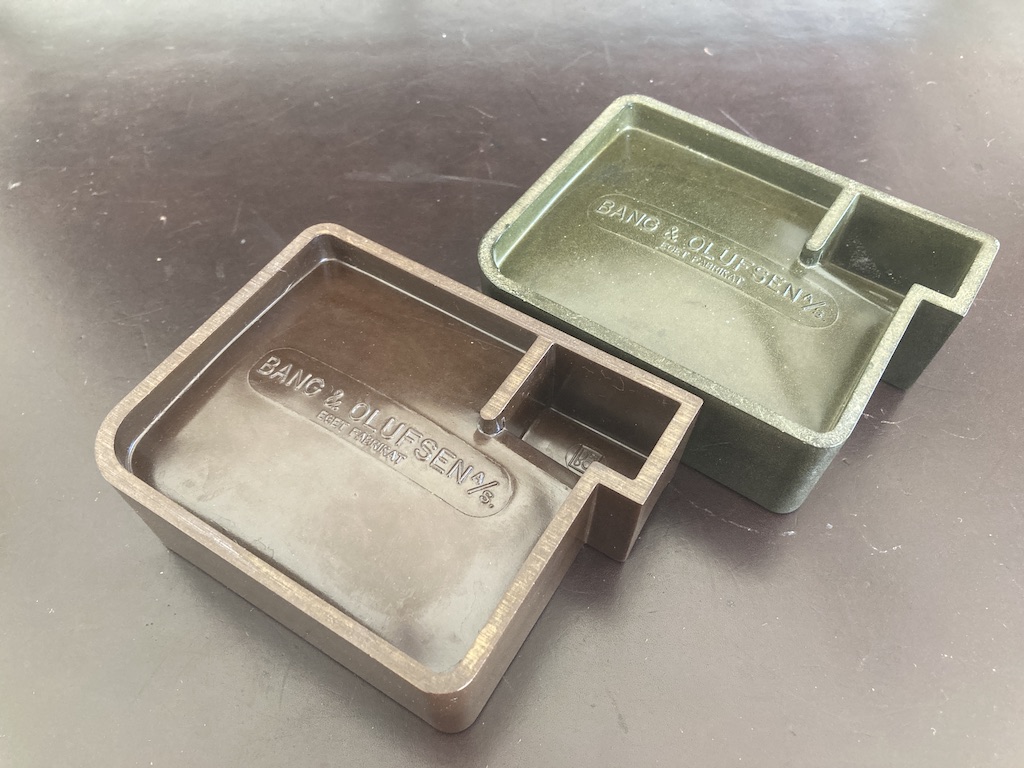
Once-upon-a-time, Bang & Olufsen had a bakelite press. I’ll probably talk about this sometime in the future, but the short version is that bakelite was an early kind of plastic that gave people a whole new way of making products with new shapes (do a search for Beolit 39 for example).
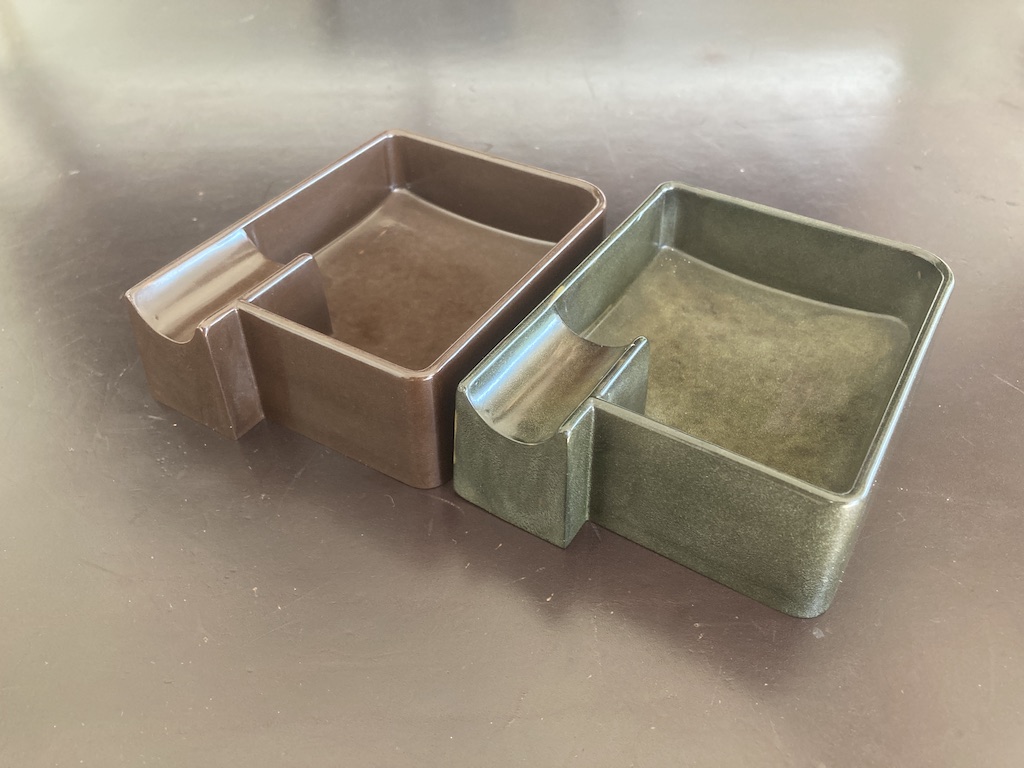
B&O used its bakelite press to make items other than radios and parts for their audio products. One example of this is the ashtrays you see in the photos below. One thing to notice is the B&O logo up on the underside of the cigar/cigarette rest.
Once-upon-a-time, before there was streaming, and SACDs, and CDs, and vinyl records, and 78 RPM shellac disks, there were cylinders.
I’m part-way through a three-part lecture at the local museum on the history of recorded sound. A portion of Part 1 was to talk about cylinders, and I was lucky enough to meet a local collector who owned a number of cylinder players, one of which he loaned to me for a demonstration.
After some back-and-forth, he agreed to sell me the player to add to my collection. And, after a little (but very little) internal debate, I decided to do a partial restoration as a little weekend project.
The player is about 120 years old, so there’s plenty of dirt and oxide on it. My goal was not to make it as-good-as-new, rather to just clean it up a little.
The easiest part was polishing the screw heads. I made a small brass handle to make this easier…
Before and after polishing one of the steel rods that are used to support the sled.
The various parts of the speed governor, dismantled, and ready for polishing.
Back together again after polishing
The cast-iron base before stripping the paint.
The end support for the two arms and the threaded rod that moves the sled in sync with the groove on the cylinder, before stripping. Note the professional decorative artwork…
The support arm for the speed governor before stripping.
The sled before polishing.
Most of the steel and brass bits and pieces after polishing. The belt on the top left of the photo is made of thin leather.
The original wooden knob for the brake cracked sometime in the past 120 years. So, I made a new one from Cumberland ebonite. I didn’t feel too bad about using this instead of wood, since ebonite was a common material for such things back in those days. The reason I have it on hand is for making fountain pens and replacement parts in restorations.
The last part of the restoration was to hammer and rub out the dents in the bell, and to spend an hour or two sanding the surface with 800-grit paper, and then polishing on a wheel.
After everything went back together, the only thing left to do was to make a wooden base so that the cast iron won’t scratch anything. Rather than try to re-create the original base and cover, I just made a simple one from teak.
The player is NOT sitting on an anti-gravity device. It’s floating above the concrete because it’s sitting on a piece of wood to keep the sand off it before bringing it inside. Note that equally-amateurish decorative paint job on the end piece. I debated making a computer-generated stencil and spray-painting a “perfect” decoration, but I chose to do this instead, in keeping with the original.
“How does it sound?” you ask. I did this recording before the restoration, but you can decide for yourself. Note that, back then, the player still wasn’t mine, and I was hesitant to wind it up enough to play a full two minutes… Hence the rescue mission half-way through.
Now I have to go find some more cylinders. That one is the only one I have, and I’m getting a little tired of “In the Wildwood Where the Bluebells Grew”…