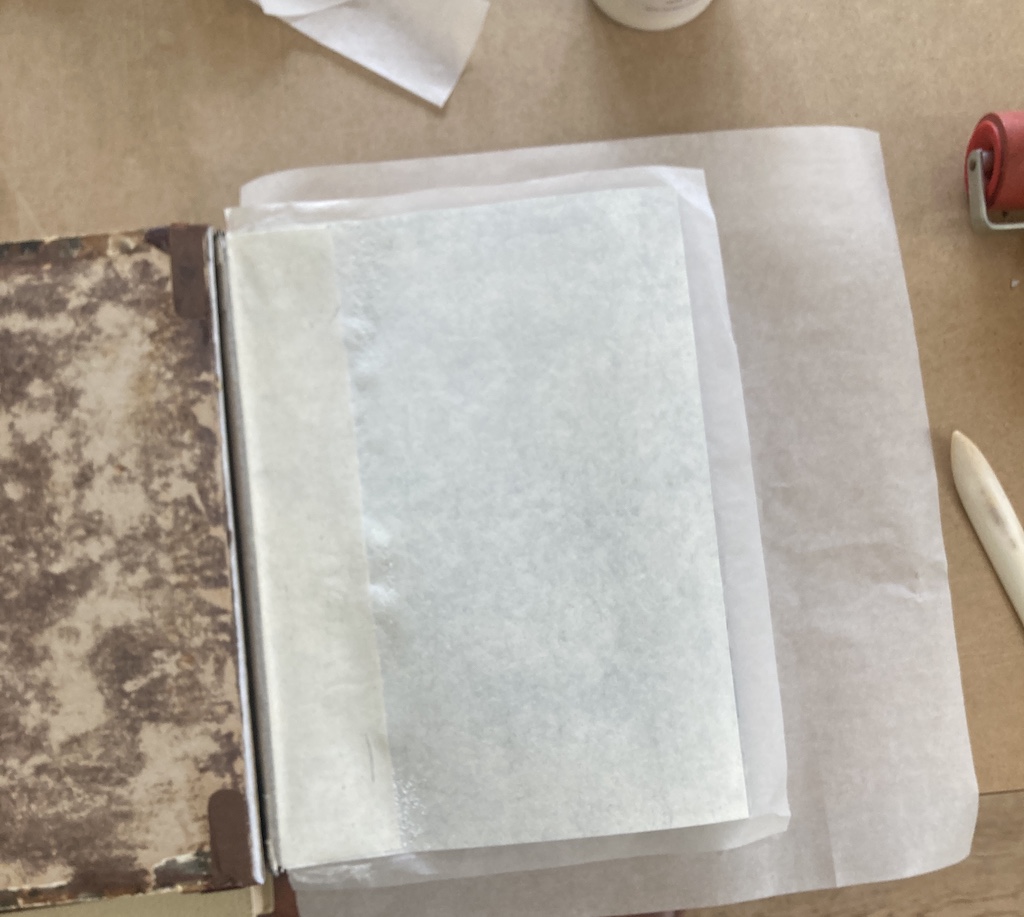
Final assembly begins with gluing the edge of a piece of Japanese paper to the original purple paper. This was done with just a thin line of glue (about 5 mm wide). (In this photo, you see the back of the Japanese paper that will be glued to the inside of the cover.)
Then, the gauze was glued down and then the entire side of the paper that you see there was coated with glue. This is then attached to the inside of the cover. (I realised after it was too late that I take blurry, out-of-focus photos when I’m rushing to get it done before the glue makes the paper wrinkle too much… Sorry.)
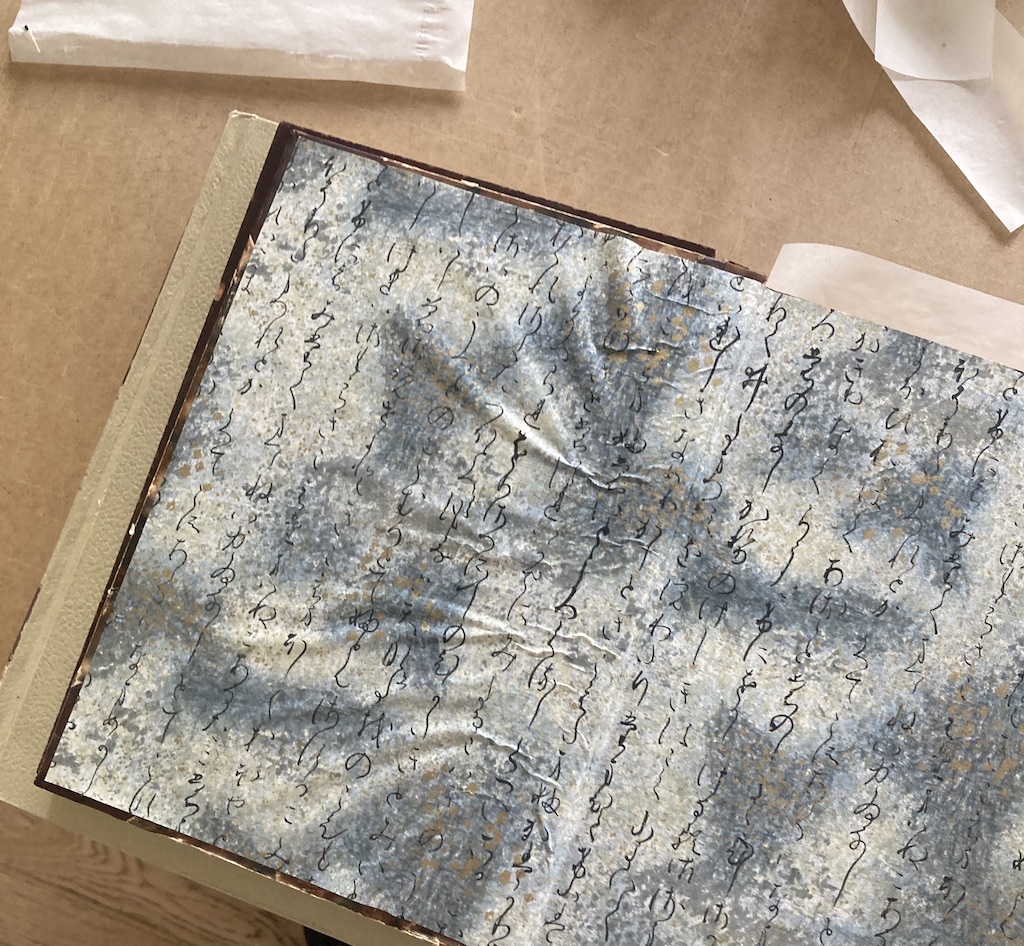
The moisture of the glue caused the Japanese paper to wrinkle, as expected. This was smoothed out using a rubber roller, the bone folder, and my fingers.
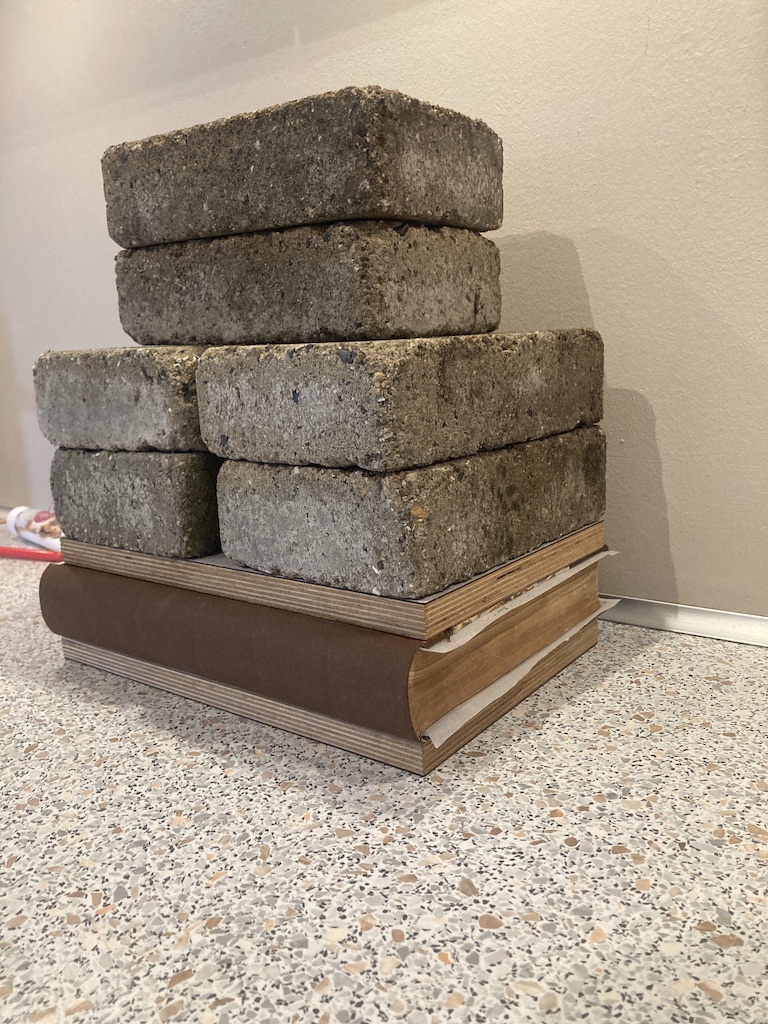
Then the whole thing was clamped overnight to prevent the covers from curling due to the glue. Notice the fabric spine (with the original cardboard spine glued to its inside) that will be covered with the original leather in the next step.
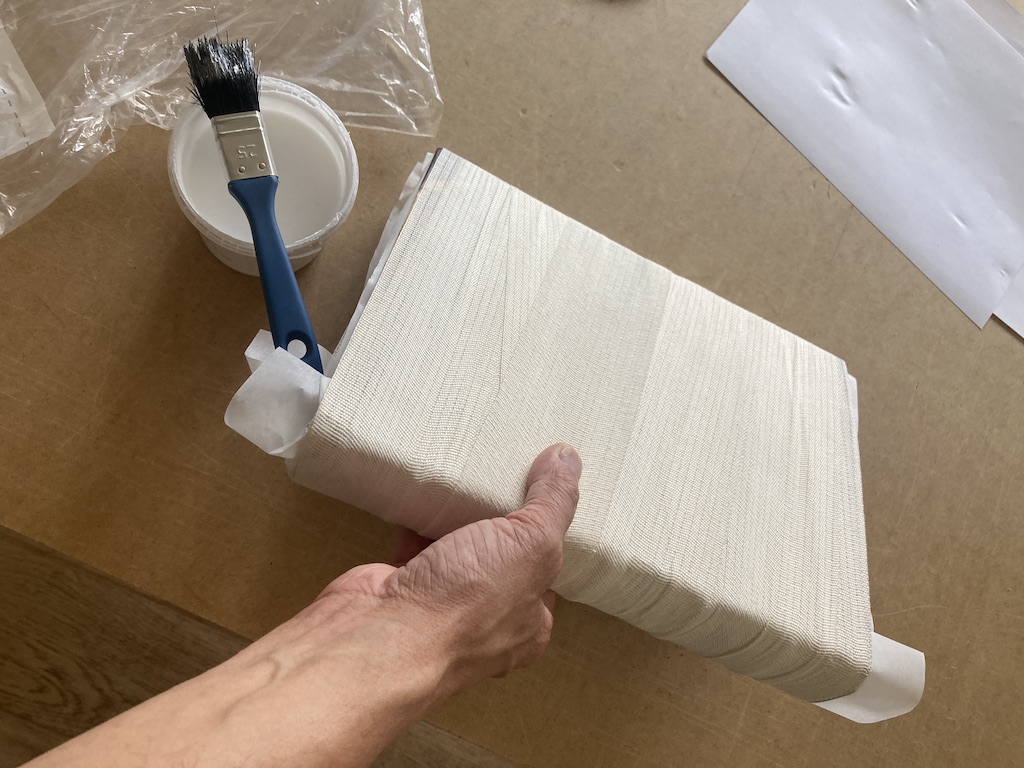
The leather has been glued to the fabric spine and then the whole thing was wrapped in the elastic bandage. Again, the baking paper keeps things that shouldn’t stick from sticking together.
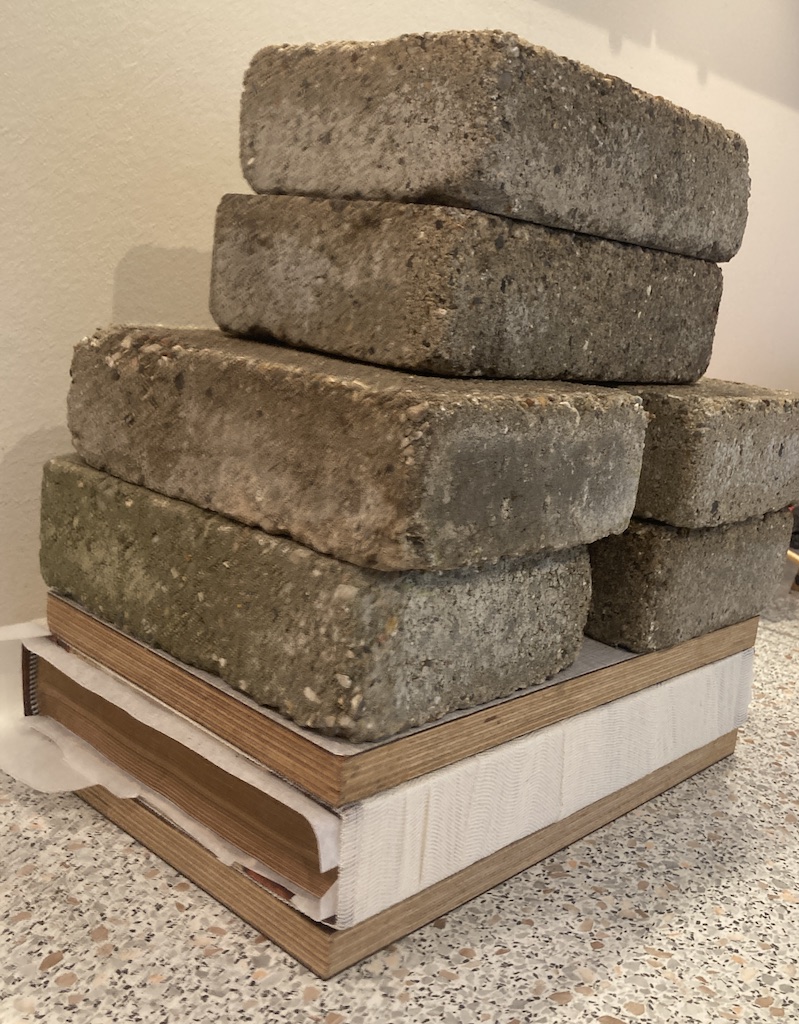
Then back under the weights for another night, bandages and all.