I recently bought a well-used Telefunken Lido portable gramophone. It’s in reasonable shape, but it certainly needs quite a lot of repair and/or restoration. For starters, it doesn’t work – probably because the drive spring is either broken or disonnected inside the barrel.
The plan is to get as much fixed on it this weekend… however, that plan may change as the work progresses.
I’ve already made use of this page, this page, and this video to get ready for the project (including learning from the mistakes of others…) My documentation might be of similar use to others – in addition to providing some info on how gramophones worked…

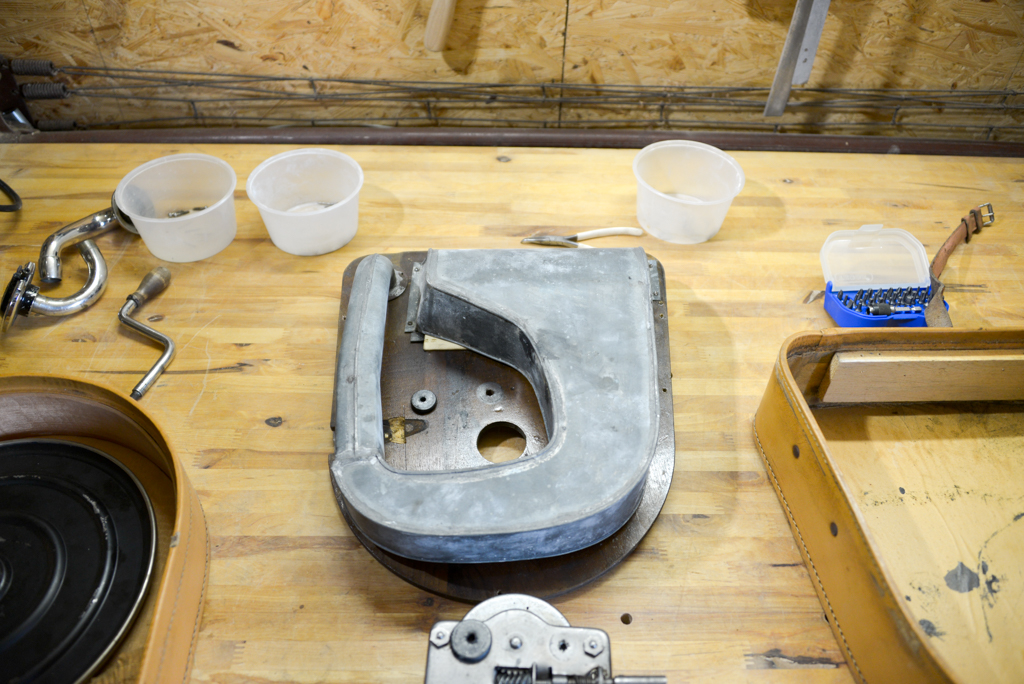
The lido, as-is before I start…

The platter just lifts off.

The diagonal arm is the speed control that adjusts a clutch mechanism that can be seen in photos below. The needle and membrane are locked in the “travel” position, which sits them down into the mouth of the horn (the dark rectangular area at the “back”).
The first step was to unscrew the locking lid stay on the left side of the horn opening. The next step is to unscrew the lid hinges from the main case. Both the lid stay and the hinges are riveted to the lid, so they stay on.
The next step was to remove the three screws that hold the pipe + membrane + needle assembly onto the wooden top plate in the top right corner. After these have been removed, it all just lifts off.
Next is to remove the 5 small screws around the outer edge of the wood top plate. These hold the entire assembly into the bottom part of the case.

The next step is to disassemble the mechanism from the wooden top plate. In order to do this, the speed regulation arm has to be disconnected from the pin that connects it to the clutch underneath. This is done by loosening at least one of the two set screws that grab the pin.

The photo above shows the control arm after separating it from the pin that goes down into the mechanism.
Once this is done, there are four large screws the have to come out. Those are the four holes near the right-hand yellow “Fona” sticker.
In order to remote the drive mechanism, it has to be gently angled to slide it out without the spindle hitting the wood, and snaking it out around the horn.


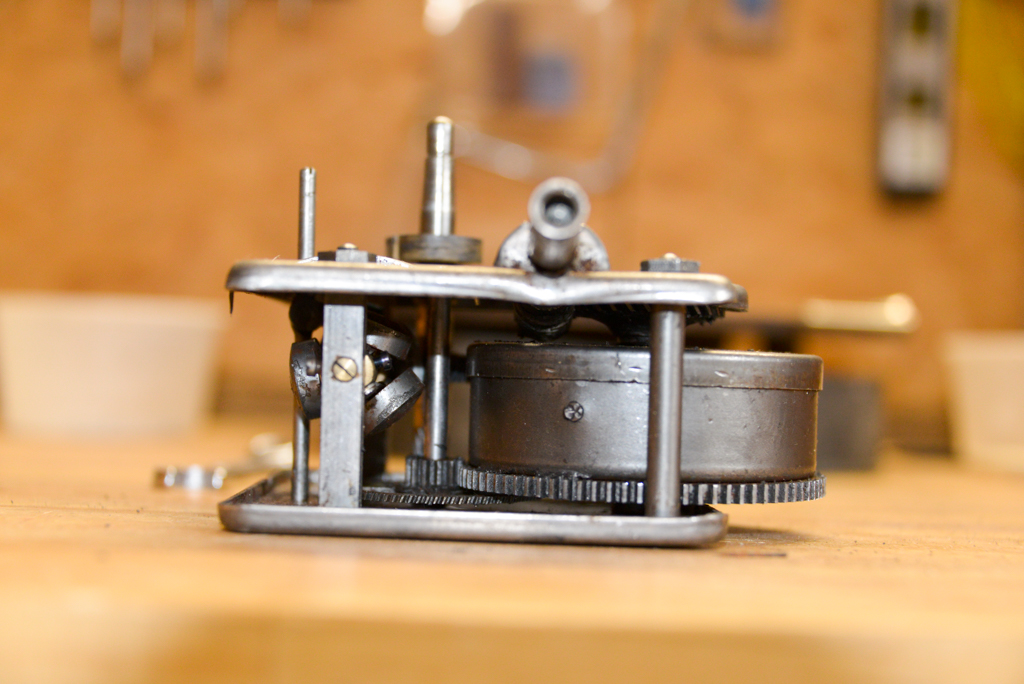
The mechanism after removal.
The underside of the wooden plate, showing the entire horn. This is probably made of lead by the looks of things…

The two vertical rods are the main spindle (on the left) and the clutch control (on the left). Turning the clutch control pushes a soft pad against the vertical clutch wheel that can be seen on the same axle as the centrifugal speed regulator weights.


There are four 11 mm hex nuts holding the top plate of the mechanism to the four posts. First, the rubber washers needed to be removed using a knife to separate them from the top plate. Then the four nuts are loosened and the top plate can be lifted off. This will take the clutch rod and the main spindle with it.


The photo above shows the bottom plate with the speed regulator and the spring barrel.


The two last photos, above, show the underside of the top plate, holding the main spindle on the left, the clutch rod in the middle, and the screw entry for the winding handle.
That’s it so far. Tomorrow will probably be spent disassembling the spring barrel and seeing whether it’s fixable. Then de-greasing and cleanup of the drive mechanism, re-greasing and re-assembly.